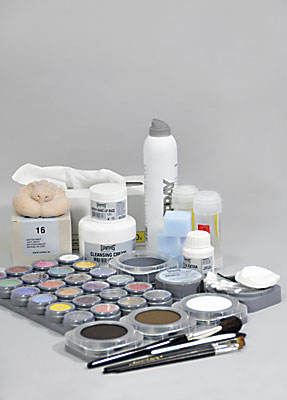


Set out ready for use:
Towel / cape
Water bowls
Tissues
Straightener / iron
Scissors
Comb
Hairspray / plastic spray
Cotton buds
Cotton wool pads
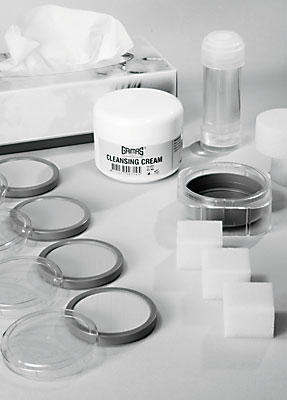
Do not use ready-to-use cleansing cloths.
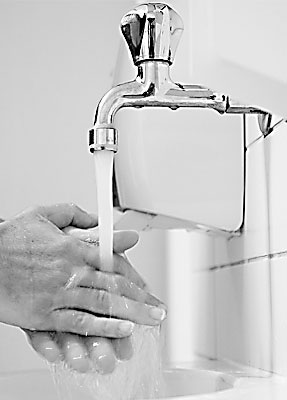
Before starting, you ensure your hands and nails are well cleaned. File your nails if necessary, so that there are no snags. By doing this you prevent damages on the face and risk of infection.
Always work using clean materials (sponges, brushes, spatulas, water bowls) and change the water regularly.
Get the subject to put on any clothes beforehand that have to be put on over the head. Protect your models clothing with a hairdressing cape or a towel.


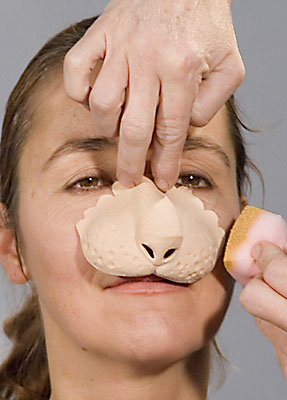
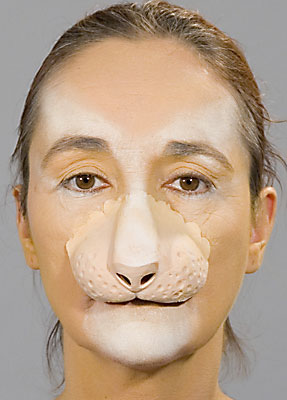
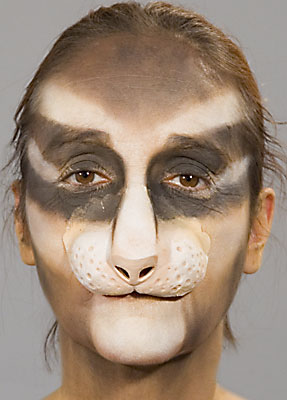
Apply a little Grimas Mastix Extra to the inside of the scales/adhesive edge and allow it to dry for a few seconds.
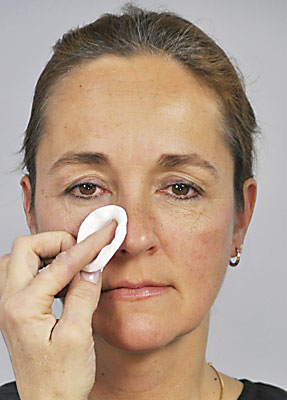
Protect the eyes by closing them and covering them with a tissue. Can cause serious damage to the eyes.

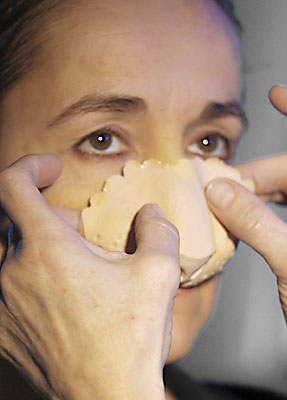
Protect the eyes by closing them and covering them with a tissue. Can cause serious damage to the eyes.
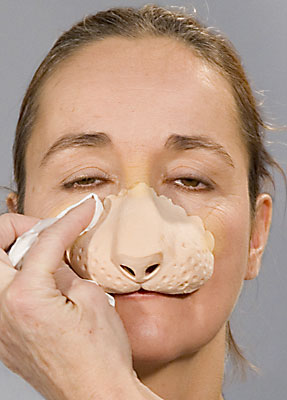

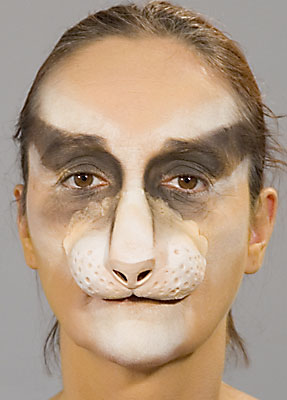
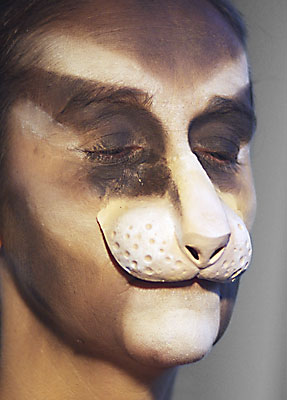
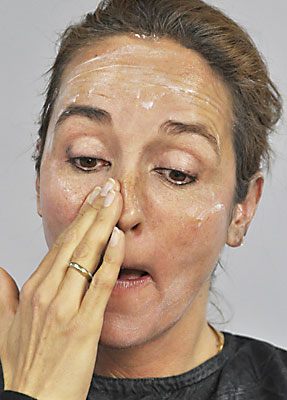
You apply Cake Make-up with a slightly damp make-up sponge. Take the make-up sponge between the fingertips and squeeze it together to create a round surface. With this surface the make-up can be applied.
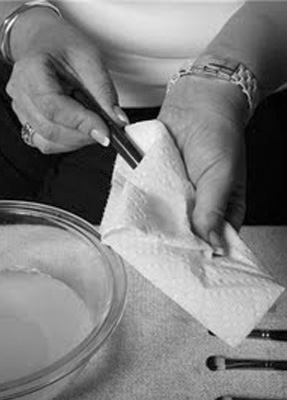
If you work with too much moisture, streaks will form. You can press the make-up sponge down onto a tissue to remove any excess moisture. Cake Make-up dries quickly, so you need to work quickly to achieve a nice result.


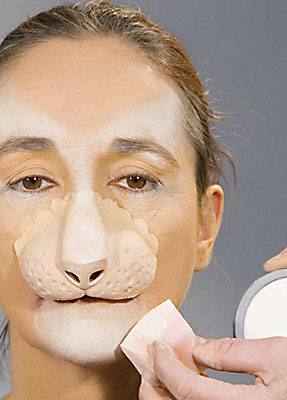
Apply the make-up over the face and the application.

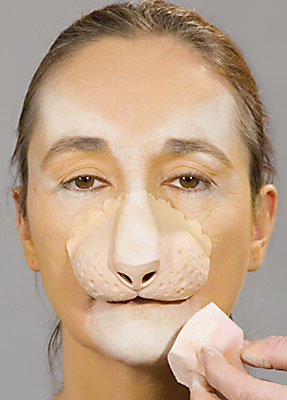
Cake Make-up dries quickly, so you need to work quickly to achieve a nice result. If the result is not even, turn the sponge that you worked with over and use the clean side to even out the make-up. Any possible stripes after drying you can gently fade out with a tissue.
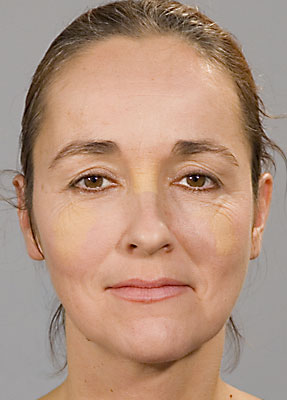
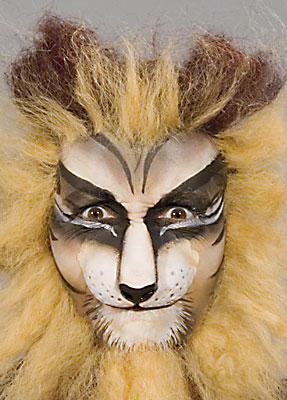
By shadowing and lightening you create a depth effect. Shaded/dark segments cause that area to recede optically, whereas highlighted/lighter segments make something stand out optically.
Cake Make-up can also be applied with a brush. Test the colour intensity on the hand.

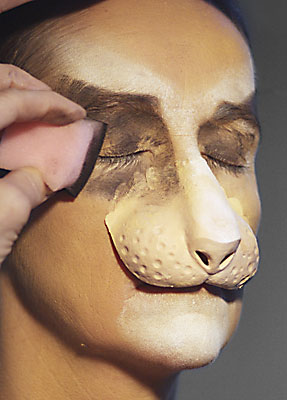

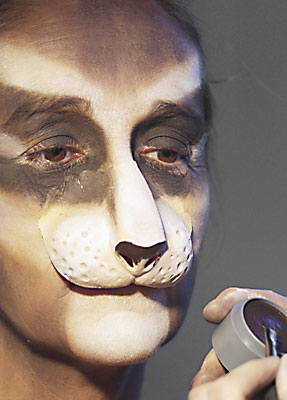
Water Make-up works just like watercolour paint. Use the brush and a little water to soften the make-up and make it a bit pasty. Test the colour intensity on the hand. Don't work too dry, but do not use too much water.


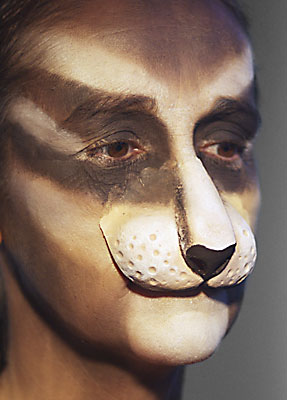


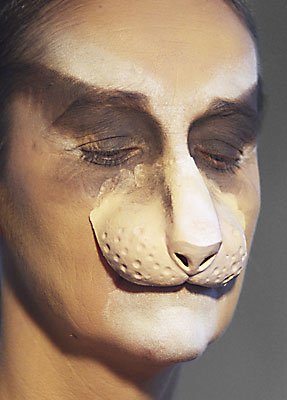
Start the line with the side of the flat brush at the frown line by the bridge of the nose. Turn the brush around to the broad side in a single fluid movement as you draw the line diagonally upwards.

Always twist the brush from the oblique side to the flat side.

Do try to keep the lines running parallel, otherwise it starts to look messy.


When working with Water Make-up preferably use separate brushes for light and dark colours.
Hint: Regularly change the water you rinse your brushes in and preferably work with two water bowls: one for light and one for dark shades.
Grimas Water Make-Up (Pure) can be used around the eyes, but children often do not like it when brushes are so close to the eyes. So decide yourself how far you want to extend the colour.
When working under the eyes, have your model look upwards - only with the eyes, without moving the head. If you work above the eyes (eyelid), have your model close his/her eyes in a relaxed manner.
Children are inclined to shut their eyes tight. Then you can say: keep your eyes closed as if you are sleeping.


If you do not want the colours to mix, be sure to wait for the first layer to dry before applying another colour over it or up against it.
When working with Water Make-up preferably use separate brushes for light and dark colours.


You can also use Grimas Stipple applicator for this.
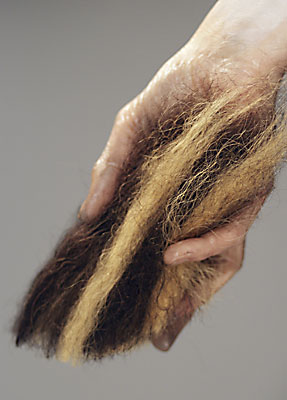
Prepare 7 pieces of wool crepe for the lion. It needs 3 mixed round pieces and 4 flat yellow/blonde pieces.


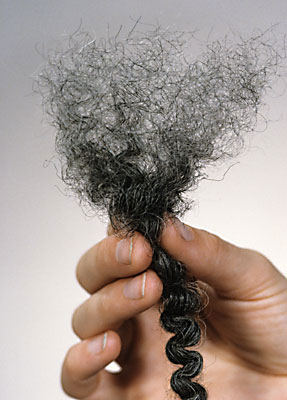
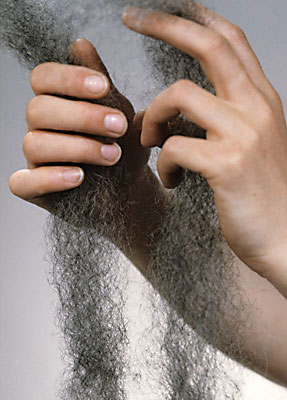
Pulling Wool Crepe loose
Pull 7 braids of about 20 cm wool crepe loose from the strings around which it has been wound. One strand is brown, for mixing.
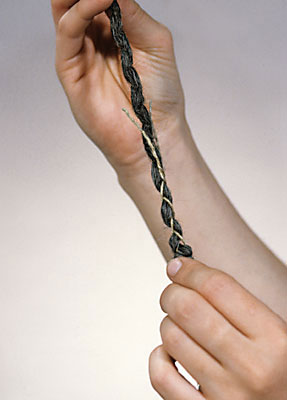
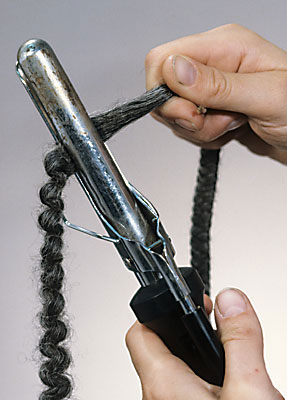
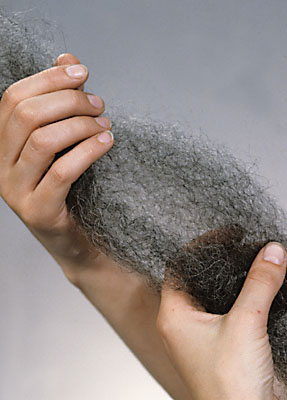
Straighten out the parts you are working with, using a curler, styling tongs or an iron (on the 'wool' setting).
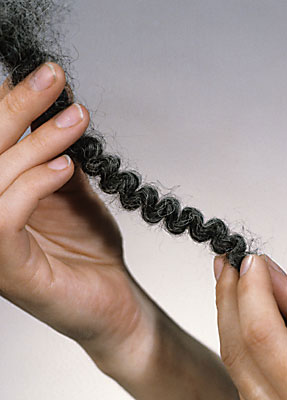
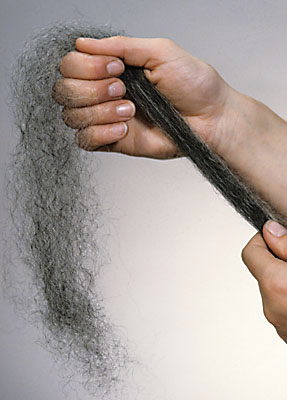
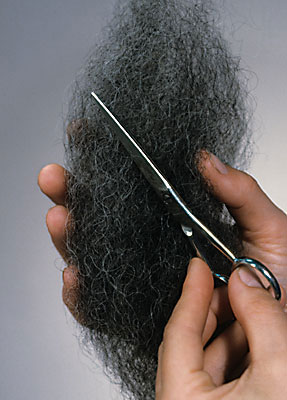
Now make the pieces that you are working with longer and looser: run them through your hands and pull them gently bit by bit in the lengthwise direction, but so that the pieces still remain intact.
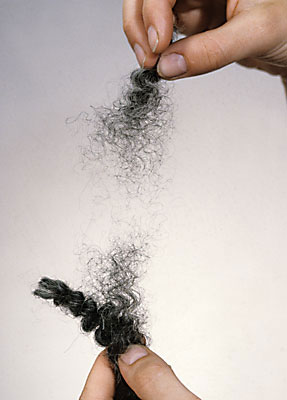
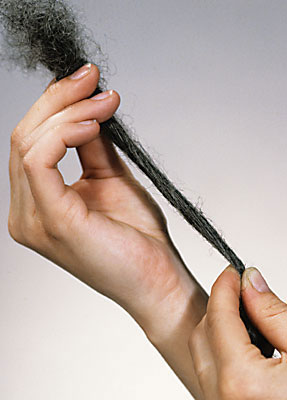
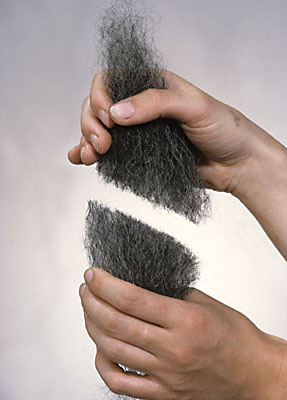
For each piece: Pull the loosened piece into two in the middle, in the lengthwise direction along with the hairs; place the two pieces on top of each other and divide them into two again.
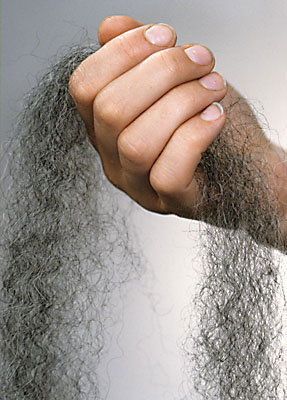

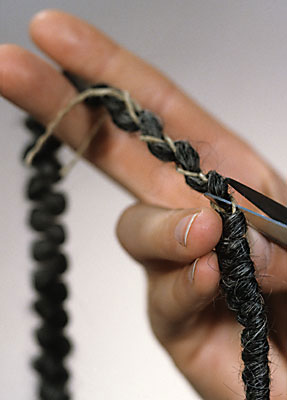
Once the result is transparent, pull the piece back out to a length of 20 to 25 cm.
Now flatten out 4 pieces using a curler, styling tongs or an iron (on the 'wool' setting).
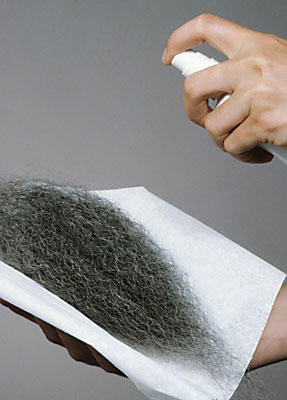
Note: using hairspray or plastic spray on the Wool Crepe will make it inflammable.


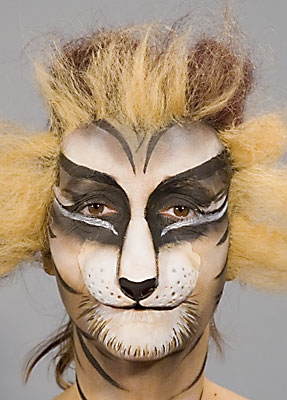

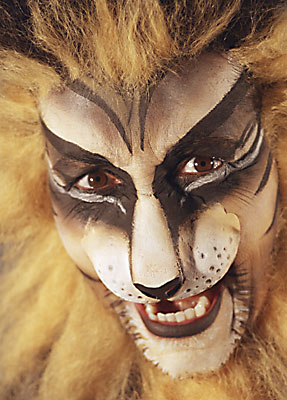
Stick the pieces on both sides of the jawline at an oblique downward angle.


Please note: do not comb!


Latex noses and sets
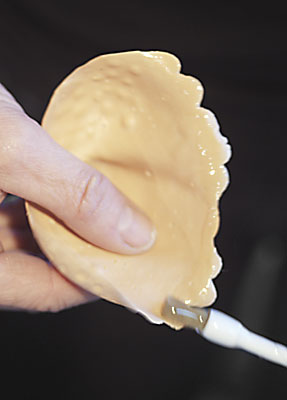
Detach the adhesive edge with a cotton bud soaked in Grimas Mastix Remover. Remove the adhesive and make-up residues from the latex prostetic with Mastix Remover.
Wool Crepe
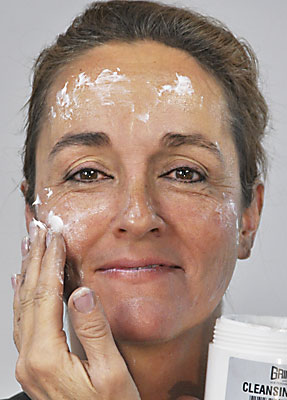
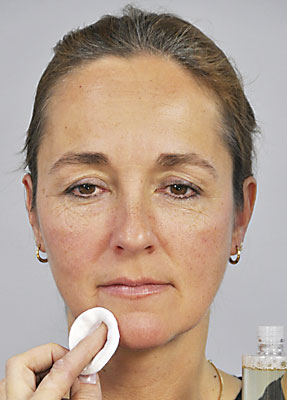
Wool Crepe that has been stuck on with Mastix Extra you remove with Mastix Remover. To stress the skin as little as possible, you can first massage it with Grimas Cleansing Cream. You can then already pull some of the hairs loose and remove them with a tissue. The remaining hairs and the adhesive you remove with a cotton wool pad and Mastix Remover. Dab it carefully onto the skin and roll the residual material off the skin. Then you continue cleaning with Cleansing Cream or Cleansing Milk by massaging it in and removing it with a soft tissue.


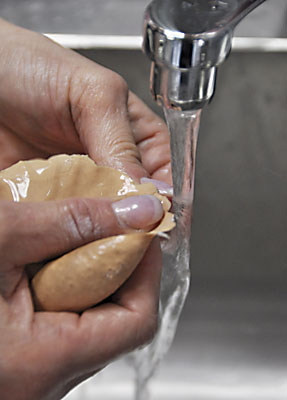
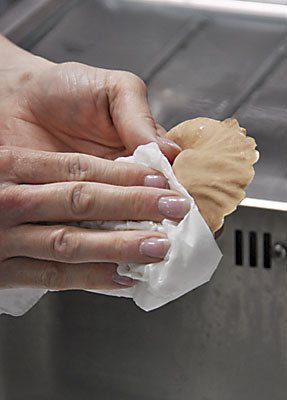
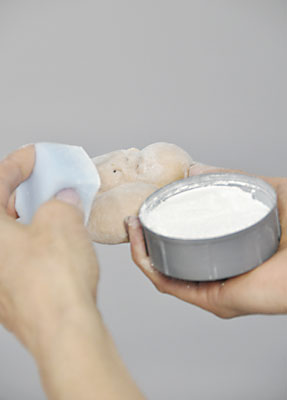
Remove the adhesive and make-up residues from the latex prostetic with Mastix Remover. Clean the latex prostetic afterwards using water and soap, and powder it with Grimas Transparent Powder after drying (with a dryer, if necessary).
Keep in a dark place.
If necessary, rinse the Water Make-up clean and wipe the surfaces of the colours dry with clean tissues. Let the make-up dry out in the air and only put the lid back on when the Water Make-up is dry. Store it in a dry and cool place until the next time you use it.
The sponges are disposable so you can throw them away after use. If you do want to reuse them, first rinse them under the tap with some soap or shampoo or wash them in the washing machine (in a net bag or pillow case), set to at least 60°C.
You can clean brushes with water and soap or shampoo. Put the moist hairs of the brushes back into shape by hand after washing. Dry the brushes lying flat on a towel and do not place them upright, since that causes the moisture to run down into the shaft.