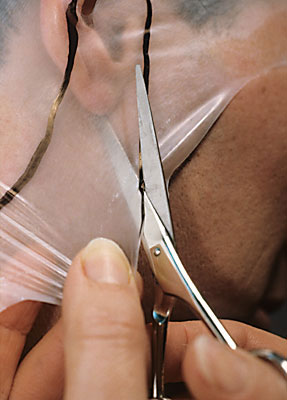
Get the ears out from underneath the Bald Cap.
Shop
Order by label name
Purchase request
Where to buy / Shops
Shop login
Change language
Change country
Shipping costs
Free shipment from € 25
Expected delivery
1-2 Workdays
Payment methods


Get the model that will wear the Bald Cap to sit up straight. Now make a glued edge of approximately 2 cm along the sideburns. Let this adhesive edge fit up exactly against the glued edge on the forehead. There must not be a gap between them.
Use the same principle: fold back, apply adhesive, reposition the side edge, press gently and fold back again. Allow to dry for about 15 seconds and then apply along the sideburns again.


